
Car Dealership Photography Tips: Shooting Angles and Habits That Sell Cars
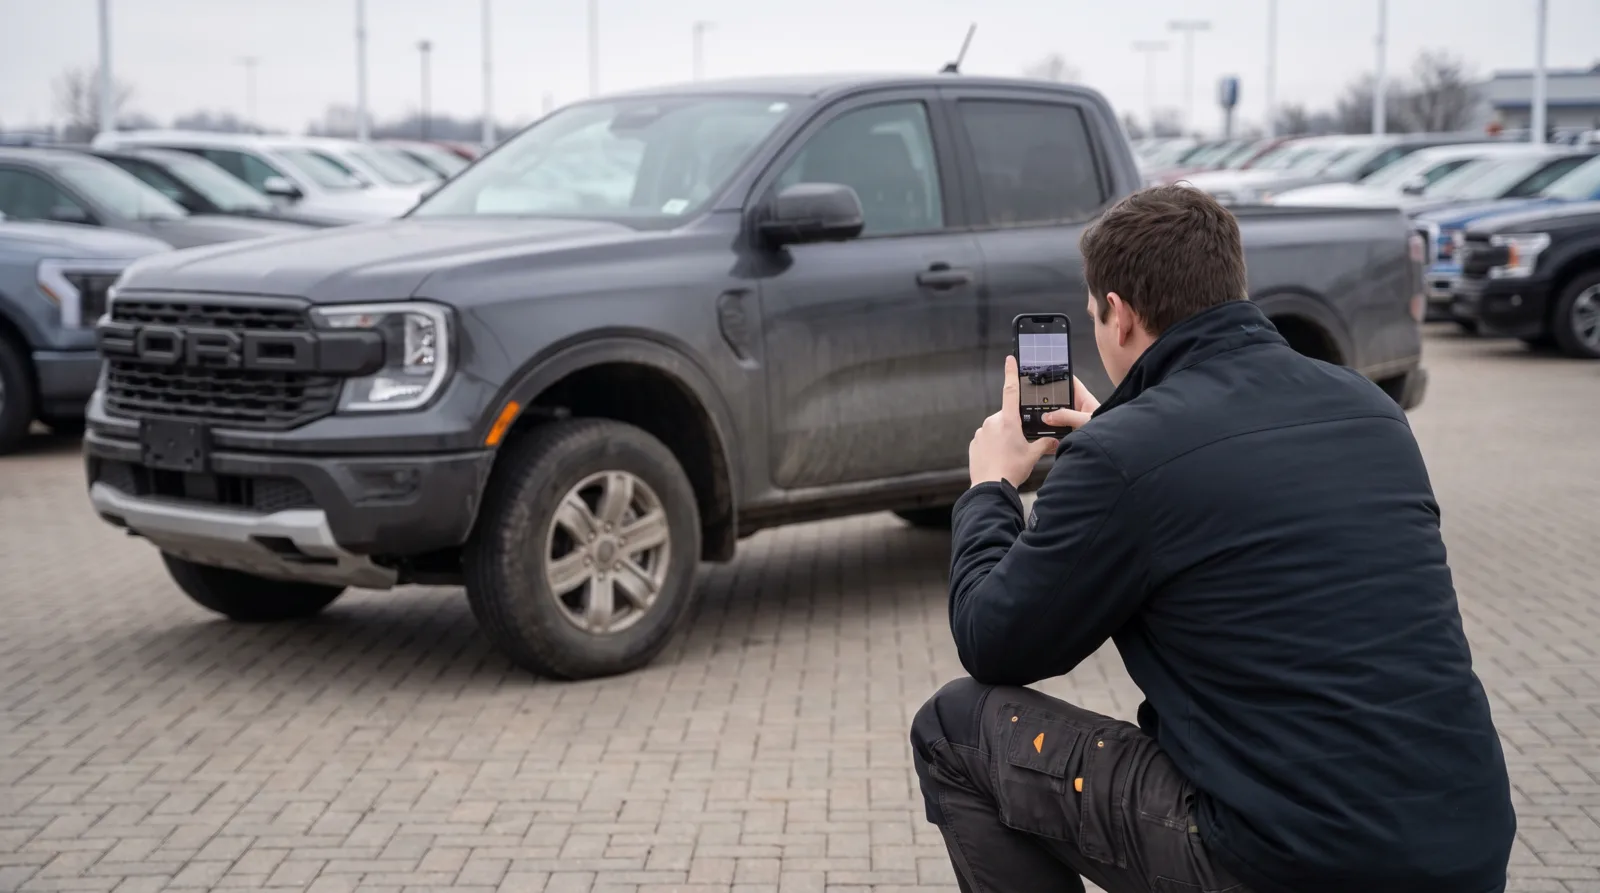
Good dealership inventory photography is less about equipment than about repeatable habits. The stores whose listings consistently outperform are not hiding better cameras. They follow the same angles, the same order and the same standards on every car, every day.
Key takeaways
- Preparation beats editing. Ten minutes of washing, clearing the cabin and repositioning the car outperforms an hour of correction afterwards.
- Shoot the same sequence every time, starting with the front three-quarter at roughly 45 degrees and headlight height. Standing height makes cars look small and slumped.
- Interiors sell used cars and get photographed worst. Open the doors, and always include the odometer — omitting it reads as evasive.
- Bright overcast is the sweet spot for volume shooting. Midday overhead sun drops hard shadows into wheel arches and washes out paint.
- Consistency is the tip that beats all the others, and it is a management habit before it is a photography skill.
Start with the car, not the camera
Ten minutes of preparation outperforms an hour of editing.
Wash the exterior, or shoot straight after detailing. Clear the cabin completely: paperwork, air fresheners, the previous owner's traces. Pull the car away from other vehicles so nothing intrudes into frame or reflects in the paint — a neighbouring bumper curving across a door panel is the single most common avoidable flaw in lot photography.
Straighten the wheels for front shots, or angle them slightly towards the camera on three-quarter shots to show the wheel face. It is a two-second adjustment that separates a considered photo from a snapshot.
The car photography angles that matter, in order
Shoot in the same sequence every time so galleries across your inventory match. A shopper moving between three of your listings should feel like they are looking at one store, not three photographers.
| Shot | Position | Why it matters |
|---|---|---|
| Front three-quarter | 45° off the front corner, camera at headlight height | The lead image; it decides the click |
| Rear three-quarter | 45° off the opposite corner, same height | Buyers check rear bumpers for wear |
| Direct front and rear | Squared to the car | Panels read straight; reveals alignment |
| Both profiles | Squared, even light | The best angle for dents and ripples |
| Wheels | One clean shot per wheel | Tread and kerb condition are inspected first in person |
| Interior set | Doors open, from the rear seat and driver's door | Interiors are what sell used cars |
| Odometer | Close and legible | A credibility signal; omission reads as evasive |
Rear three-quarter. The same discipline from the opposite corner. Buyers check rear bumpers for wear; give them a clear look rather than making them ask.
Direct front, direct rear, both profiles. Square the camera to the car so the panels read straight. Profiles reveal dents and ripples best in even light, which is exactly why buyers study them.
Wheels and tyres. One clean shot per wheel. Tread and kerb condition are among the first things a used-car buyer inspects in person, so answering it in the gallery builds trust before they arrive. Our guide to capturing key details in close-ups goes deeper on the detail frames worth the extra minute.
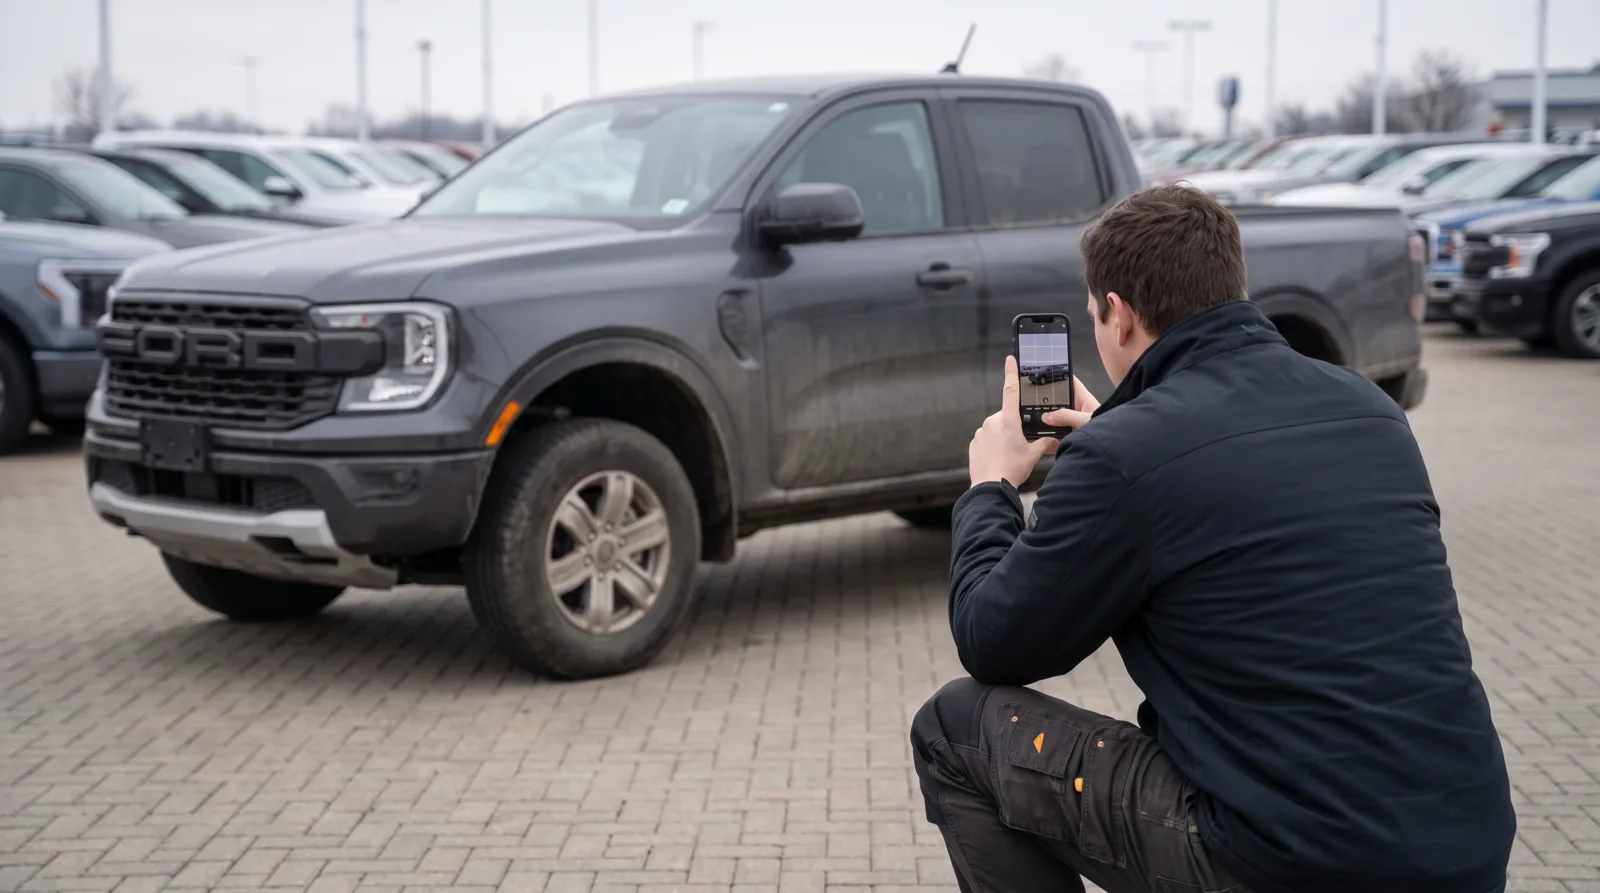
For a fuller treatment of composition itself — framing, background separation, where to stand relative to the car's lines — see best angles and compositions for car photography.
Interior shots buyers actually study
Interiors sell used cars and get photographed worst.
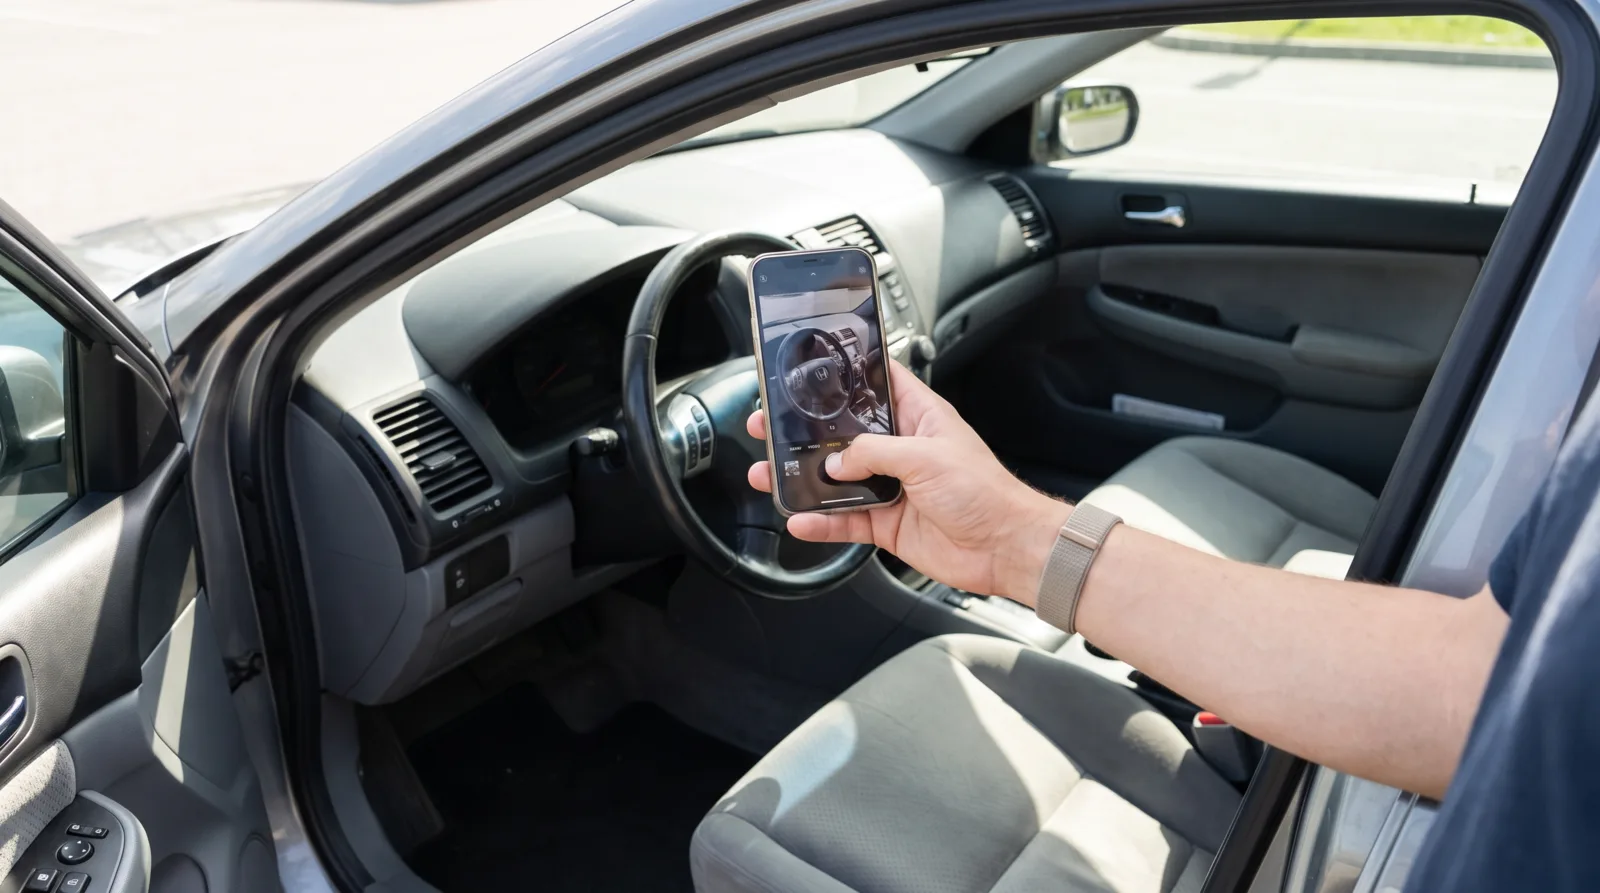
Open both doors on the side you are shooting to flood the cabin with light. Capture the full dashboard from the rear seat or through the driver's door, the driver's seat and wheel, front seats, rear seats and legroom, boot space, and always the odometer. The odometer shot is a credibility signal; leaving it out reads as evasive, and experienced shoppers notice its absence.
Honest wear deserves its own frames. A clear close-up of a scuffed bolster or worn wheel does not lose the sale. The buyer discovering it unannounced at handover does — and that is the moment a deal turns into a negotiation you did not plan for.
Light: the variable that ruins most lot photography
Overcast bright days are the sweet spot: soft, even light without harsh reflections.
In full sun, keep the sun behind the camera and watch for your own reflection in the panels. Avoid midday overhead sun, which drops hard shadows into wheel arches and washes out paint. Golden hour flatters everything but is a narrow window for volume shooting — useful for a feature vehicle, useless for forty cars. Never shoot into a background brighter than the car, such as a white sky behind a dark vehicle, unless your processing pipeline corrects exposure afterwards.
If your intake is scheduled rather than opportunistic, the best times of day for outdoor car photography is worth planning your shoot slots around.
Consistency is the tip that beats all the others
Every tip above compounds only if it happens on every car.
This is the honest limitation of a tips article: technique lives in people, and people vary by day, weather and workload. The store that shoots beautifully in March and unevenly in July has not lost skill; it has lost the habit. Merchandising quality is measurable in leads, not just in taste — Auto Web Expo recorded 25% more online leads after standardising its vehicle photography to one consistent set.
It is also why guided capture exists. HelloRamp Studio turns this checklist into on-screen guidance, walking any team member through the angles in under five minutes per car, then handling backgrounds, exposure and perspective in processing, with each image human-reviewed before it goes live. The point is not that software shoots better than a good photographer. It is that software shoots the same way on the four-hundredth car as on the first.
If you shoot manually, write your sequence down, laminate it, and audit five random listings a week against it. Consistency is a management habit before it is a photography skill.
Beyond stills
Once the still set is reliable, the next conversion levers are motion and interactivity: a 360° tour for inspection and a walkaround video for persuasion. Both start from the same disciplined capture habits this guide covers, which is the argument for getting the stills right first — every downstream format inherits the quality of that one shoot.
The same disciplined set also feeds your social channels, where daily inventory posting turns a photo library into a local audience rather than a one-time listing asset. If you are weighing which video formats actually earn their production time, dealership video marketing breaks down the four that move metal.
And whatever you shoot with, the equipment question answers itself: a modern phone is enough. Professional-quality car photos with a smartphone covers what actually closes the gap, and it is never the sensor.
Frequently asked questions
What are the best car photography angles for dealership listings?
Lead with the front three-quarter at 45 degrees and mid-body height, then rear three-quarter, direct front and rear, both profiles, all four wheels, and a complete interior sequence ending with the odometer.
What time of day is best for dealership photography?
Bright overcast conditions are most forgiving for volume shooting. In direct sun, keep the sun behind the camera. Avoid harsh midday overhead light unless your processing corrects exposure and shadows.
How many photos should I take per car?
Capture 25 to 40 frames: complete exterior coverage, all wheels, a full interior set, boot, odometer and honest close-ups of any wear.
Do I need a professional camera for dealership photos?
No. A modern smartphone is sufficient for listing photography. Consistency of angle, light and preparation matters far more than sensor size, and guided capture apps enforce that consistency automatically.
Why do my dealership photos look inconsistent between cars?
Because technique lives in people, and people vary by day, weather and workload. Writing the shot sequence down and auditing listings against it helps; guided capture removes the variance entirely by walking every shooter through the same sequence.
HelloRamp Studio guides the walkaround, corrects the lighting and backgrounds, and produces the listing stills, the 360° spin and the video tour from one five-minute capture on a phone. No booth, rig or dedicated photographer.