
How to Take Professional-Quality Car Photos with a Smartphone
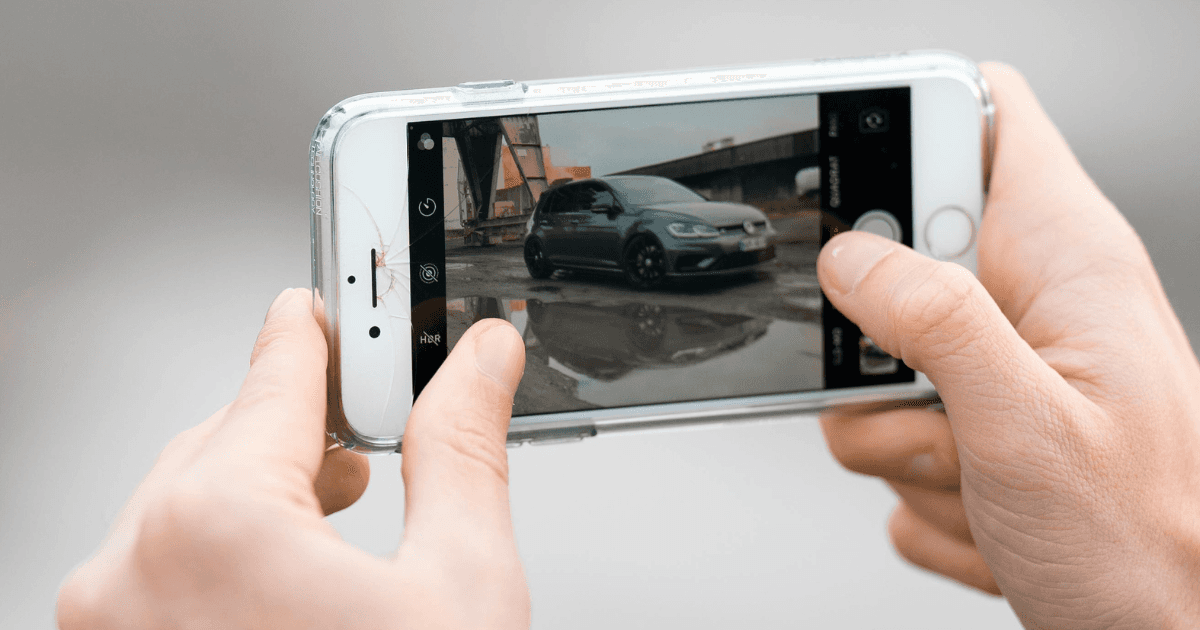
You can take professional-quality car photos with a smartphone by controlling three things: light, background and sequence. Wash the car, shoot in soft light against an uncluttered background, lock focus and exposure, and capture the same set of angles for every vehicle. The camera is rarely the limiting factor.
Key takeaways
- Preparation does more for the result than any camera setting: wash the car and clear the cabin.
- Soft light and a plain background remove the two things that make phone photos look amateur.
- Lock focus and exposure by tapping the car, and shoot landscape at eye level.
- Repeat the same angle sequence for every vehicle so listings look like one set.
How do you prepare for a car photo shoot?
Preparation is key to a successful shoot. Here are some steps to take before you even open your camera app:
Clean Your Lens: A quick wipe with a microfiber cloth or a soft cloth can make a big difference. Dust and smudges can blur your photos and reduce sharpness.
Choose the Right Location: Try to shoot in a well-lit area, ideally outdoors in natural light. Overcast days work best because the light is soft and diffused, avoiding harsh shadows. If you’re shooting indoors, position the car near windows to let in as much light as possible.
Check the Background: A clean, minimal background helps the car stand out. Avoid busy or cluttered areas with other cars or distracting elements. For an even cleaner look, the HelloRamp.ai app offers automatic background removal after the shoot, so you can keep the focus on the car itself.
Use a Tripod or Gimbal: Stabilizing your smartphone with a tripod or gimbal helps eliminate shake and ensures sharp, steady shots, especially useful for low-light conditions or close-up shots.
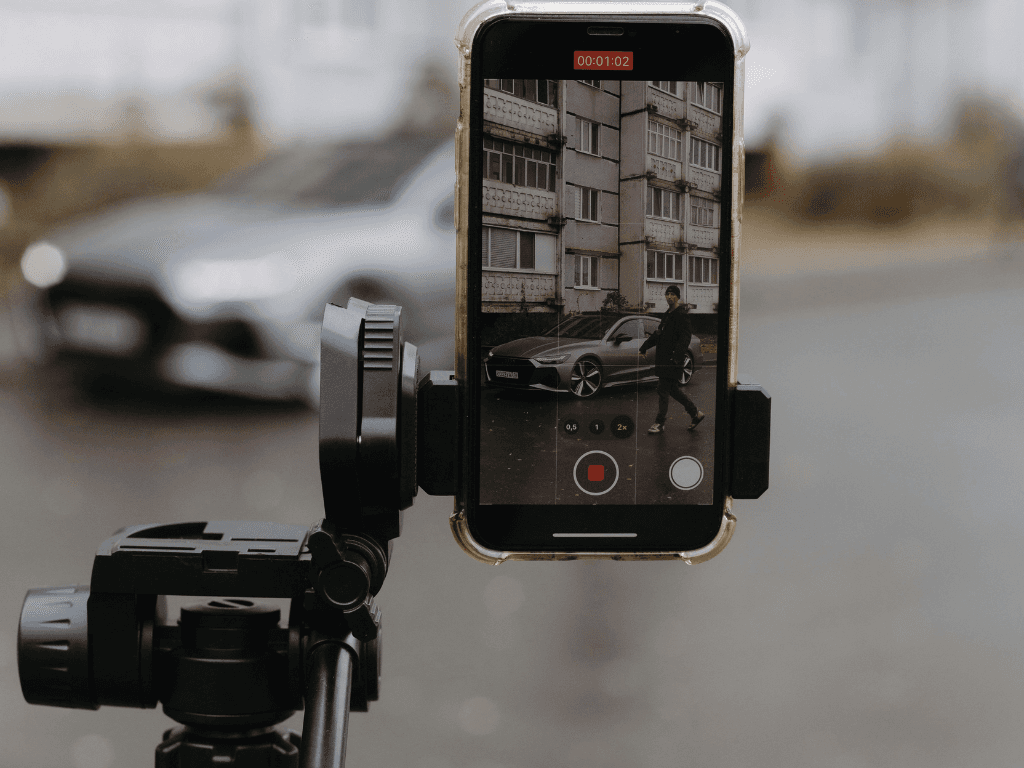
Prepare a Shot List: Think about the angles and features you want to capture, such as the front, side, rear, and important close-ups. Having a list helps ensure you don’t miss any key shots.
What should you bear in mind during the shoot?
Each of these settings enhances the quality and clarity of your car photos, giving you more control over how the final image looks.
Should you turn on grid lines for car photos?
Grid lines help with alignment and composition. They divide your screen into thirds, making it easier to keep the car level and centered in the frame, creating a balanced and professional look. To ensure your camera is not tilted, use the gridlines as a visual guide to keep the shot level.
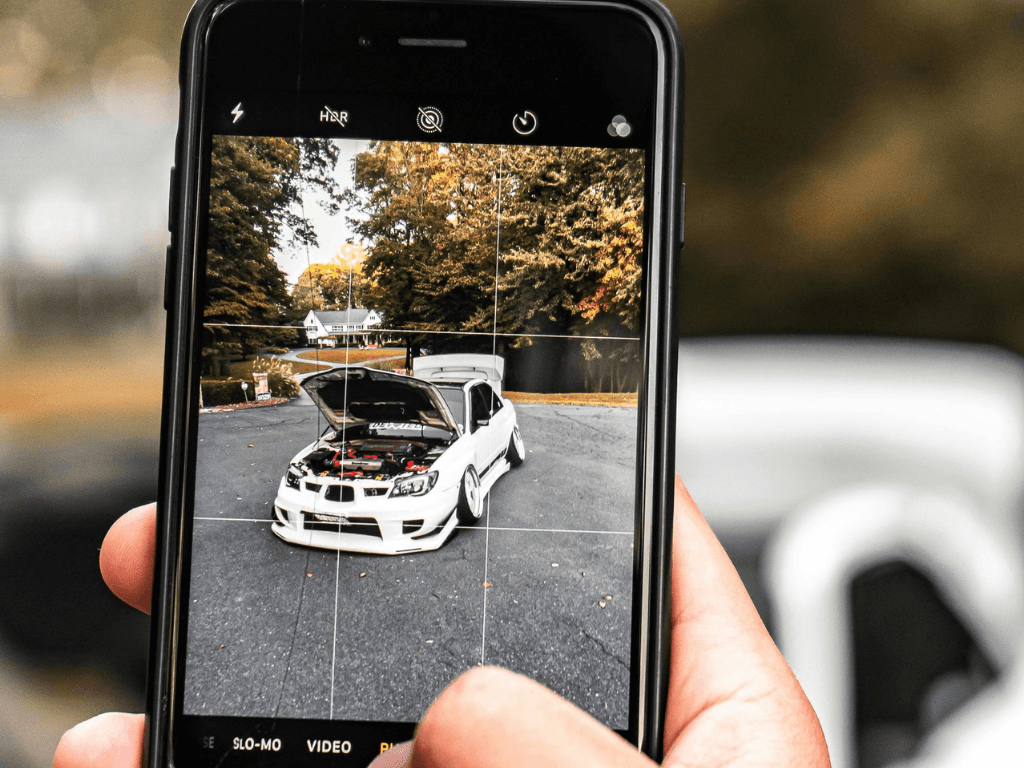
- iPhone: Go to Settings > Camera > Grid and toggle it on. Grid lines help you keep the car level in the frame and follow the “rule of thirds” for balanced compositions.
- Android: Open the Camera app, go to Settings, and enable Grid Lines or Guides to help with framing.
- HelloRamp.ai: Grid lines are automatically turned on in HelloRamp.ai, saving you the step. It also provides an auto tilt adjustment guide as well as guideline shots for perfectly straight shots.
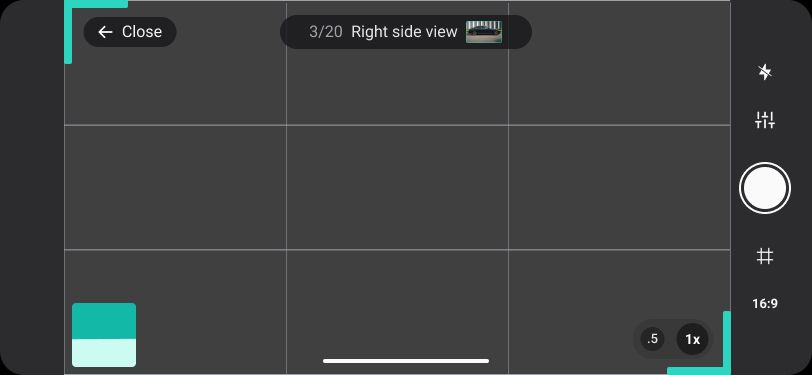 Gridlines in HelloRamp.ai
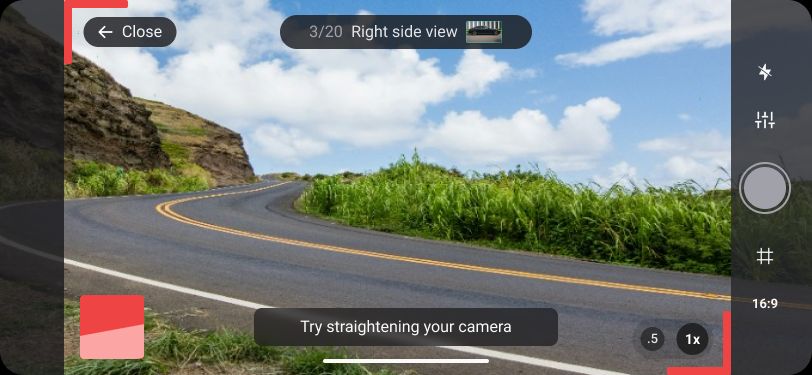 Tilt Adjustment in HelloRamp.ai
Should HDR be on for car photos?
HDR combines multiple exposures to balance light and dark areas in a photo. This feature helps capture more detail, especially in bright or shadowed areas, making the image look more like what the eye naturally sees.
- iPhone: Make sure Smart HDR is on under Settings > Camera.
- Android: Some Android phones have Auto HDR, which adjusts lighting automatically. Enable it in the Camera Settings for balanced lighting across the image.
- HelloRamp.ai: handles HDR automatically, making it ideal for mixed lighting situations.
Which lens should you use?
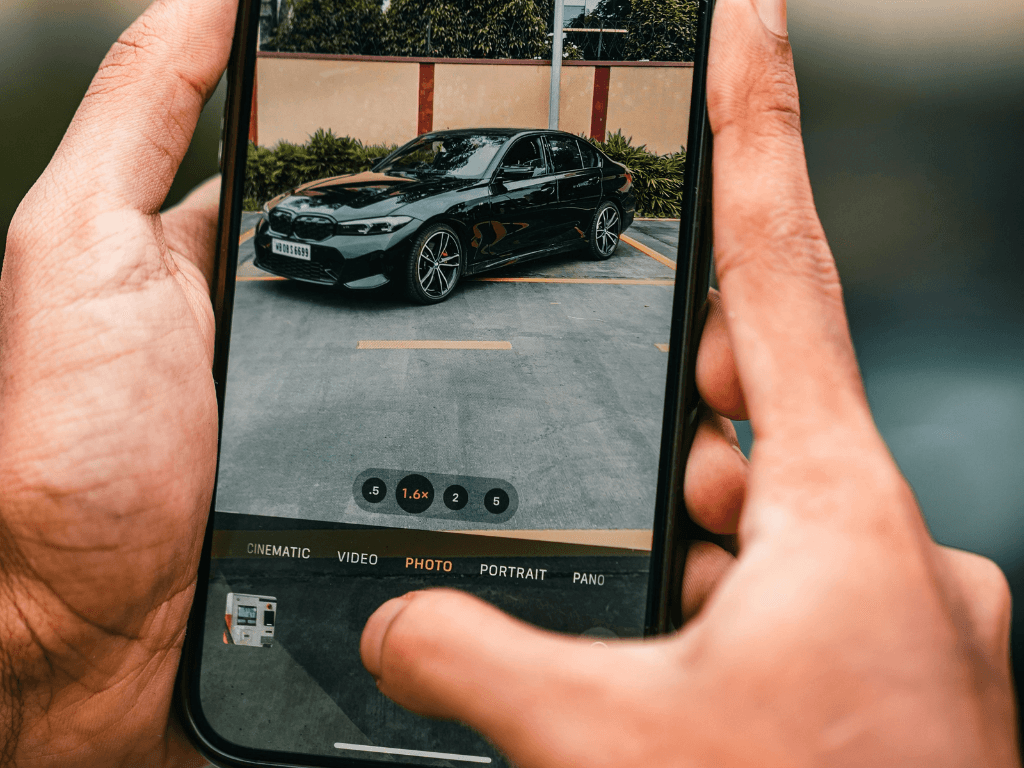
Stay on the main 1x lens for every exterior shot and step back to fit the car in frame. The 0.5x ultra-wide stretches whichever end of the car is nearest, which is the most common giveaway of a phone photo. Use it only for cabin interiors where there is no room to step back.
How should you set focus?
Tapping to focus allows you to choose the sharpest point in your image, usually the car itself. This makes sure the car is clear and detailed, while other parts of the image may blur slightly for emphasis. With HelloRamp.ai, you can use the built in guidelines that allow you to point and capture the part of the car you wish to focus on.
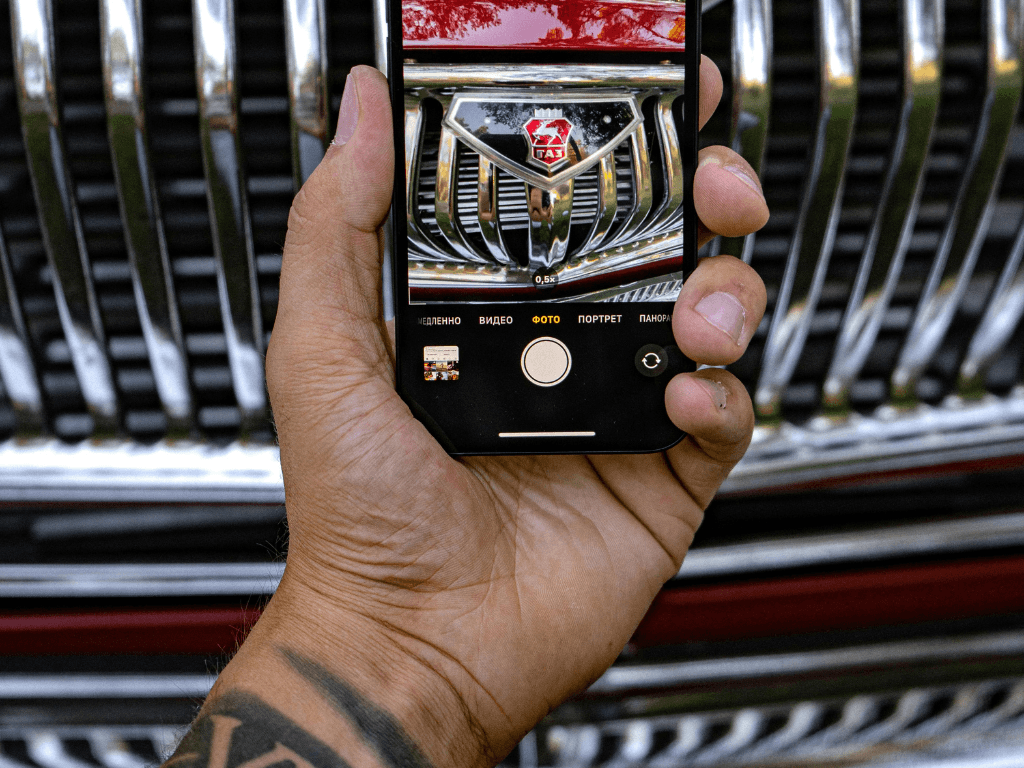
- Auto Focus: The camera automatically detects and focuses on the subject in the frame, which is useful when you’re in a hurry or when lighting conditions are stable. Most smartphone cameras, including those on iPhone and Android, have reliable auto-focus systems. HelloRamp.ai also uses auto focus to keep the car as the main subject, so you don’t have to worry about adjusting it manually.
- Manual Focus: Manual focus gives you more control, allowing you to tap on a specific area of the screen to set focus. This is especially useful for close-up shots of car details, like the dashboard, steering wheel, or wheel tread. Simply tap on the part of the car you want to highlight, and your camera will lock focus on that spot.
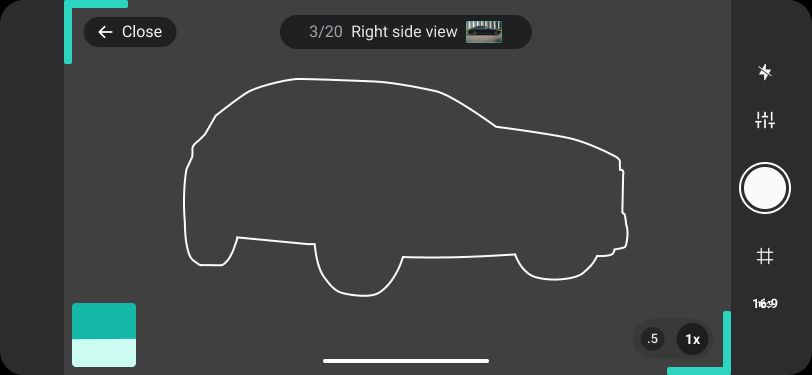 Guiding Outlines in HelloRamp.ai
For full car shots, auto focus generally works well. For close-ups or specific details, use manual focus to ensure the exact part you want is in sharp detail.
How do you set white balance?
White balance is a setting that helps adjust the colours in your photos to look more natural especially if you are photographing in low light or shadows.
- iPhone: On iPhones, white balance is automatically adjusted by the camera’s software.
- Android: Some Android models offer manual white balance settings in their camera apps. Look for options like "Auto," "Daylight," "Cloudy," or "Incandescent." Choose the one that matches your lighting environment to ensure accurate colors.
- HelloRamp.ai: HelloRamp.ai automatically adjusts white balance for you, ensuring that colors look natural without manual adjustments. This is especially helpful when shooting in mixed lighting conditions, as it saves time and improves color accuracy. It also offers a way to manually adjust if needed.
How should you set exposure?
Exposure controls the brightness of the photo. Adjusting exposure helps ensure the car is neither too dark nor too bright, revealing all the important details and colors.
- iPhone: To adjust exposure on an iPhone, tap to focus on your subject, then slide your finger up or down next to the sun icon to increase or decrease brightness.
- Android: On Android, tap the car to set focus, then use the brightness slider to adjust exposure.
- HelloRamp.ai: auto-adjusts exposure for you, taking out the guesswork.
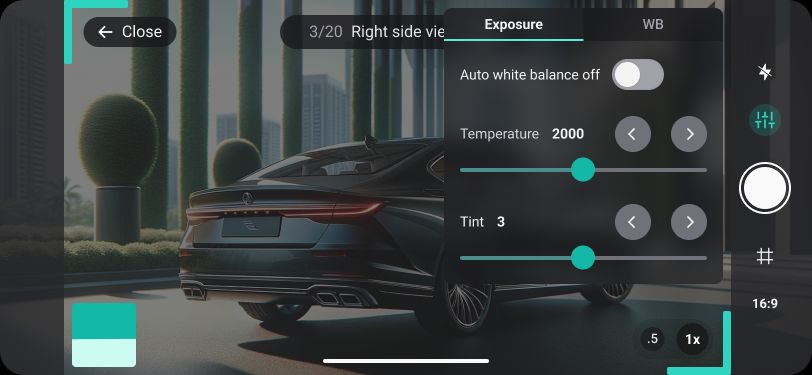 Auto Exposure Adjustment in HelloRamp.ai
| Setting | iPhone | Android | HelloRamp.ai |
|---|---|---|---|
| Gridlines | Go to Settings > Camera > Toggle Grid on | Open Camera app > Settings > Enable Grid Lines or Guides | Auto-enabled to keep shots straight and balanced |
| HDR | Go to Settings > Camera > Enable Smart HDR | Open Camera app > Settings > Enable HDR or Auto HDR | Auto-enabled for balanced lighting in all shots |
| Exposure | Tap to focus, then slide up/down next to the sun icon | Tap to focus, then adjust brightness with on-screen slider | Automatically adjusts exposure for optimal brightness |
| White Balance | Auto Adjusted | Choose options like "Auto," "Daylight," "Cloudy," or "Incandescent" | Automatically adjusts white balance with option of manual setting |
Editing your photos can enhance their quality and make them look polished. Here are some tips and tools for post-shoot editing:
- Adjust Brightness, Contrast, and Color Balance: Editing these settings can help your photo pop. You can use apps like Lightroom or Photoshop for advanced adjustments, but HelloRamp.ai automatically fine-tunes these settings for you, making your photos look professionally edited without extra effort.
- Remove Backgrounds: Clean backgrounds help keep the focus on the car. HelloRamp.ai has a built-in feature that automatically removes distracting backgrounds, making your car photos look clean and studio-like.
- Sharpen and Enhance Details: Apps like Lightroom allow you to sharpen and enhance details to make your photos crisper. HelloRamp.ai includes similar tools, automatically enhancing brightness, contrast, and color balance to create a polished, professional look.
- Save and Organize: After editing, save your photos in a dedicated folder for easy access when uploading to your listings. HelloRamp.ai can save photos directly to the cloud, making it easy to retrieve them anytime.
With a few key tips, you can take professional-looking car photos using just your smartphone. Setting up gridlines, adjusting HDR, focus, exposure, and white balance all help bring out the best in each shot. The HelloRamp.ai app streamlines this process, automating many of these settings for you. It also offers post-shoot editing tools like background removal and brightness adjustments, making it easy to achieve studio-quality images without extra effort.
If you are training a team on this, our free car photography course walks through smartphone setup, lighting and framing module by module, with a certificate at the end.
Frequently asked questions
Can you take professional car photos with a smartphone?
Yes. For online listings a recent smartphone has more than enough resolution. What separates professional results from amateur ones is clean light, an uncluttered background and a repeatable sequence of angles.
What should you do before a car photo shoot?
Wash and dry the car, clear the cabin of clutter and personal items, dress the tyres, and pick a spot with even light and a plain background. Most of the quality gap is closed before the first frame.
What phone camera settings work best for car photos?
Tap the car to lock focus and exposure, turn off digital zoom, shoot landscape at roughly headlight height, and use the main lens rather than the ultra-wide, which distorts the car's proportions.
How high should you hold the camera when photographing a car?
Around headlight to waist height for exteriors. Shooting from standing height looks down on the car and shortens it; shooting too low exaggerates the front end.
HelloRamp Studio guides the walkaround, corrects the lighting and backgrounds, and produces the listing stills, the 360° spin and the video tour from one five-minute capture on a phone. No booth, rig or dedicated photographer.