
Top 11 Mistakes to Avoid in Car Photography
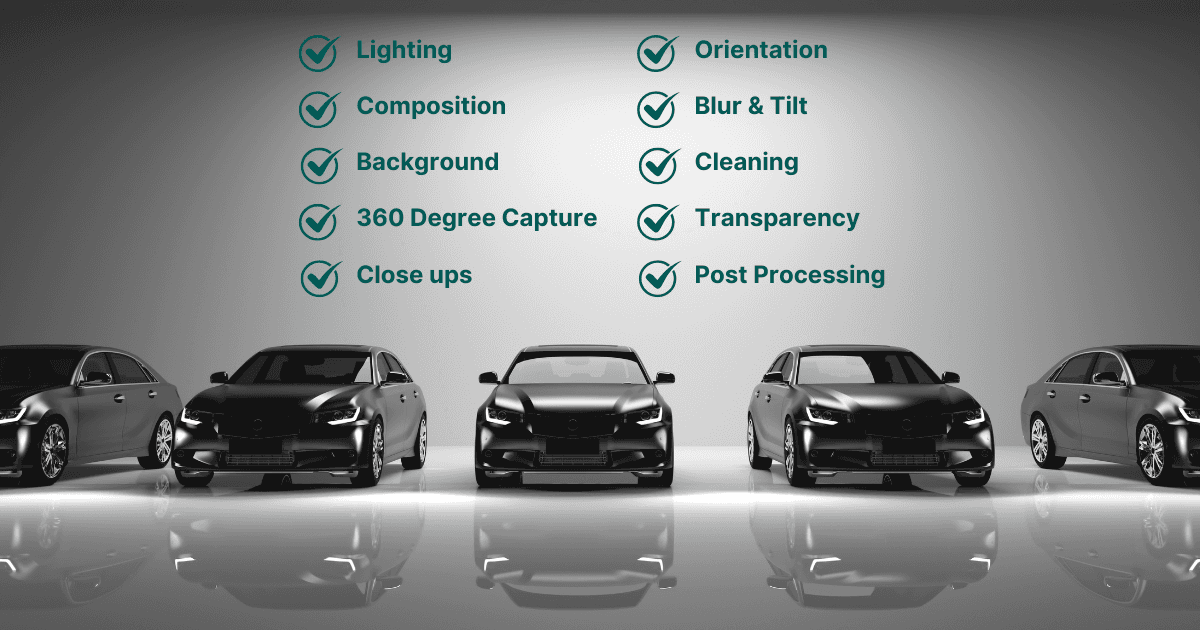
The most common car photography mistakes are uneven lighting, distracting backgrounds, an unwashed car, missing close-ups, crooked or blurry frames, and skipping the angles buyers look for. All of them are avoidable without professional equipment: they come from process, not from gear.
Key takeaways
- Lighting and background account for most of what makes a listing photo look amateur.
- Wash and dry the car before the shoot; editing cannot remove dust and water spots convincingly.
- Missing close-ups and undisclosed damage cost trust, which costs enquiries.
- Shoot landscape for listings, keep the horizon level, and check focus before moving on.
Why does uneven lighting ruin car photos?
- The Mistake: Taking photos in harsh sunlight, under shady trees, or in dark garages. Uneven lighting can make one side of the car too bright and the other side too dark, or cause colors like white to appear gray.
- The Fix: Shoot during the golden hour (early morning or late afternoon) for soft, even lighting. Avoid harsh midday sunlight, which creates glare and shadows. Ensure light falls evenly across the car. If needed, use reflectors to bounce light into shaded areas.
- HelloRamp Tip: The app adjusts brightness and exposure automatically, ensuring even and balanced lighting for every shot.
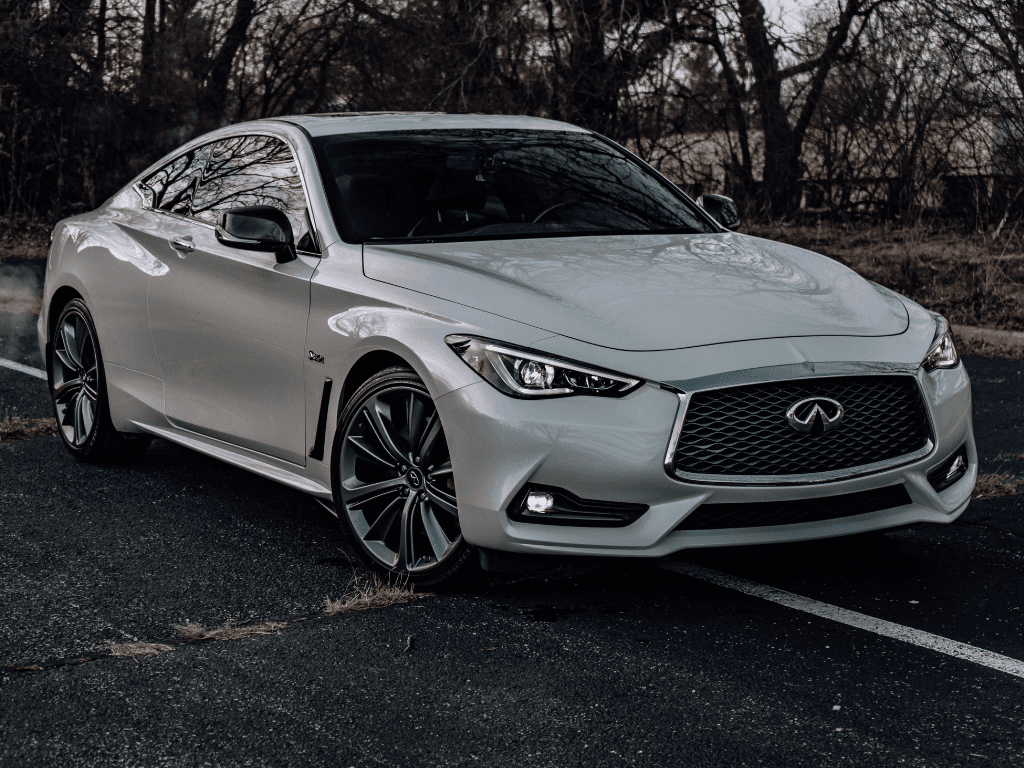
Poor lighting, shadows and reflections can make your car color look different
How do you deal with shadows and reflections?
- The Mistake: Trees, buildings, or people reflecting on the car’s glossy surface or casting distracting shadows.
- The Fix: Choose a clean, open location like an empty parking lot. Use a polarizing filter (if available) to reduce reflections on the windshield and paint.
What makes a background distracting?
- The Mistake: Taking photos in messy locations with garbage, other cars, or cluttered environments.
- The Fix: Pick neutral, clean backgrounds that don’t distract from the car, such as blank walls, empty roads, or scenic spots.
- HelloRamp Tip: Use its background removal feature to clean up cluttered or messy surroundings.
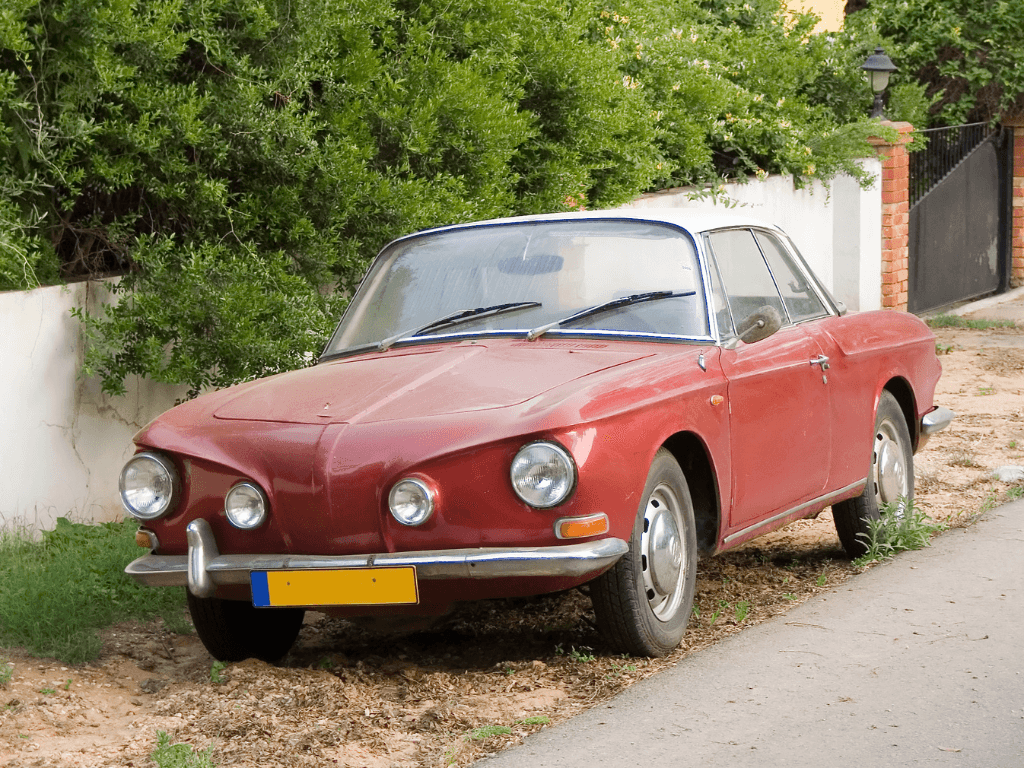
An unclean car or a messy background will detract buyers from click on the picture
Does the car need cleaning before the shoot?
- The Mistake: Dust, fingerprints, and smudges showing up in the photos.
- The Fix: Always wash the car, clean the windows, and wipe down glossy surfaces before the shoot. Clean cars look more professional and appealing.
Which close-up details do buyers expect?
- The Mistake: Missing important close-ups of the car’s key features, like headlights, wheels, or the dashboard.
- The Fix: Take detailed shots of:
- Headlights and taillights
- Wheels and tyre tread
- Dashboard, seats, and upholstery
- VIN for transparency
- HelloRamp Tip: The app provides a step-by-step guide for capturing essential shots, including close-ups.
Take 360 degree interior shots to showcase the car features
Should car listing photos be landscape or portrait?
- The Mistake: Using the wrong camera orientation for the shot, leading to awkward cropping or mismatched images.
- The Fix: Use landscape orientation for wide exterior shots to showcase the entire car and portrait orientation for close-ups or vertical spaces like interiors. Decide the orientation based on the feature you’re highlighting.
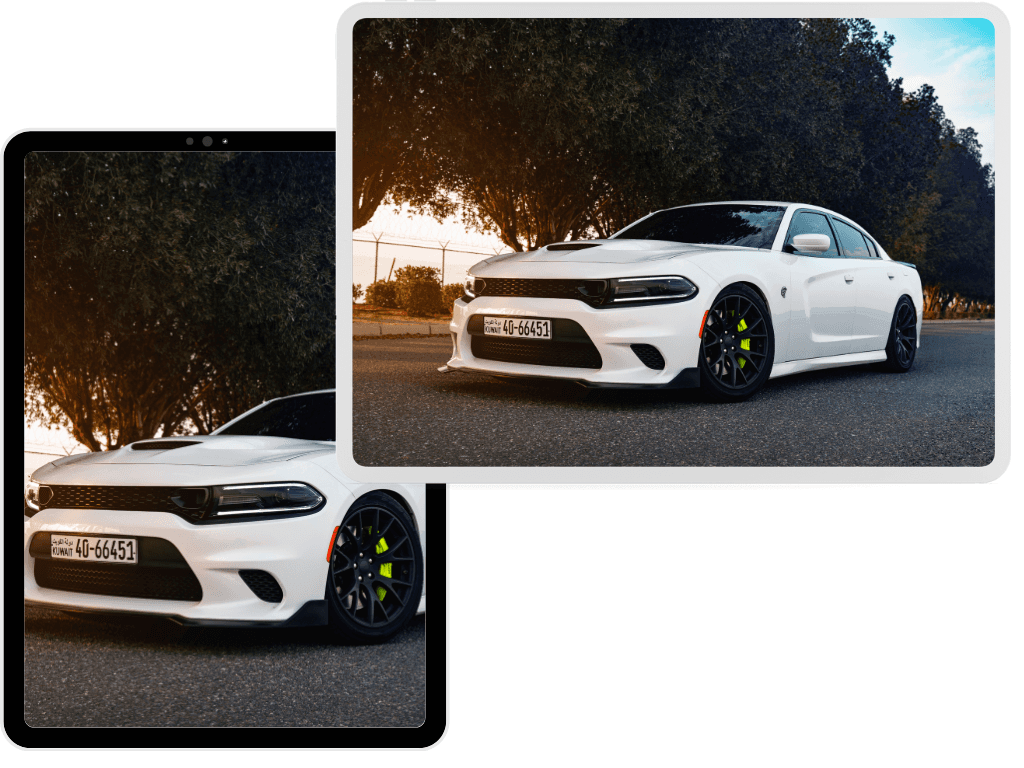
Select the right camera orientation for your car picture
How do you avoid blurry or crooked photos?
- The Mistake: Shaky hands or tilted angles make the car look unprofessional.
- The Fix: Use a tripod or stabilize your hands against a surface to avoid blurry photos. Turn on gridlines in your camera settings to ensure straight, well-aligned shots.
- HelloRamp Tip: The auto tilt adjustment feature ensures all photos are perfectly aligned.
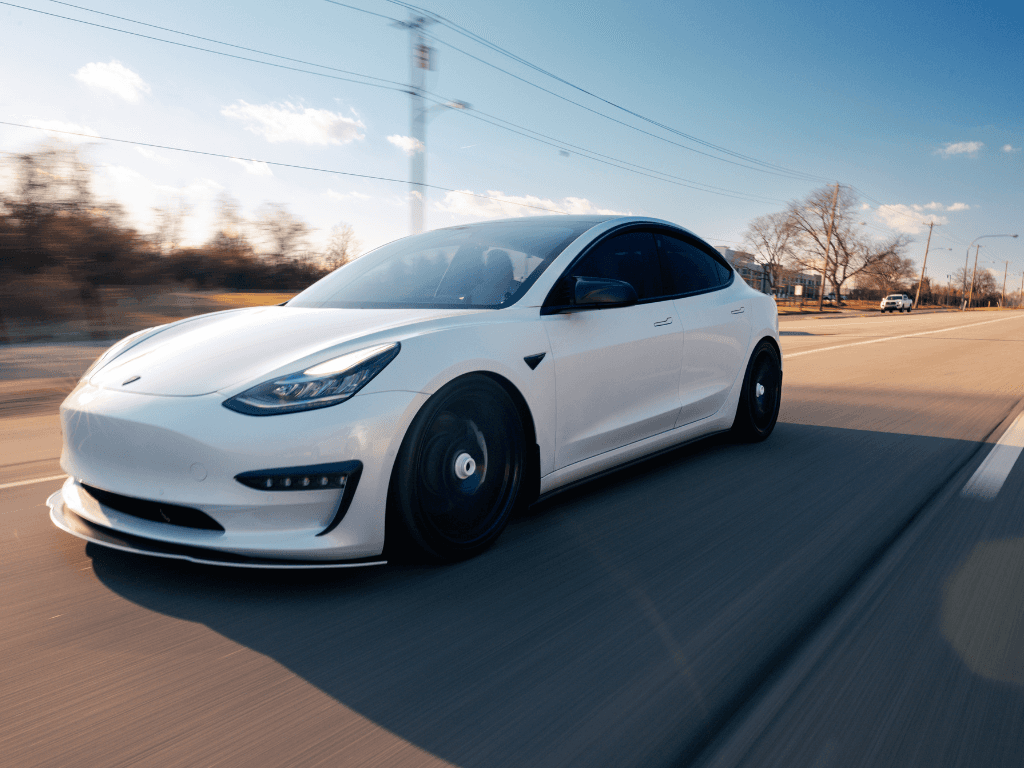
A titled or blurry image will look unprofessional.
Which angles must every listing include?
- The Mistake: Taking too few photos or missing essential angles like the rear or side view.
- The Fix: Include a variety of shots:
- Diagonal View
- Rear View
- Side Profile
- Interior Details
- Trunk and Engine Bay Taking more angles gives buyers a better understanding of the car’s condition and features.
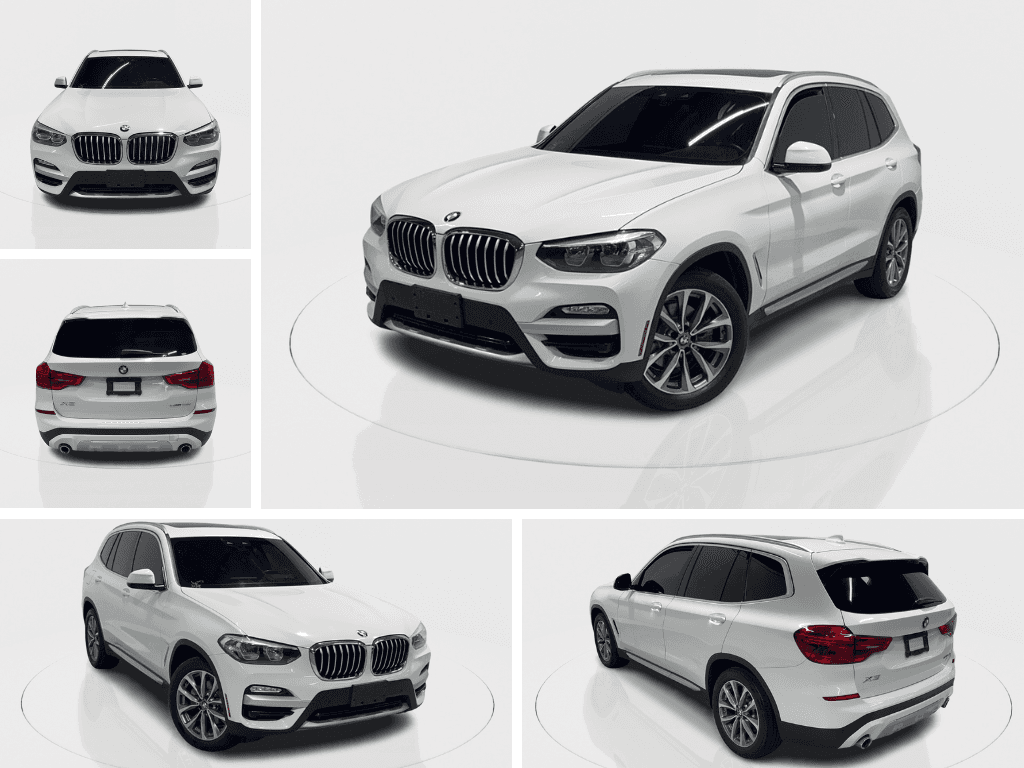
Remember to capture the car from all angles - both front and rear, exterior and interior
What happens if you hide damage in listing photos?
- The Mistake: Hiding imperfections like scratches, dents, or wear. This can lead to disappointed buyers when they see the car in person.
- The Fix: Be honest about the car’s condition. Include clear photos of imperfections like scratches, tire wear, or upholstery damage. Transparency builds trust and makes buyers feel confident in your listing.
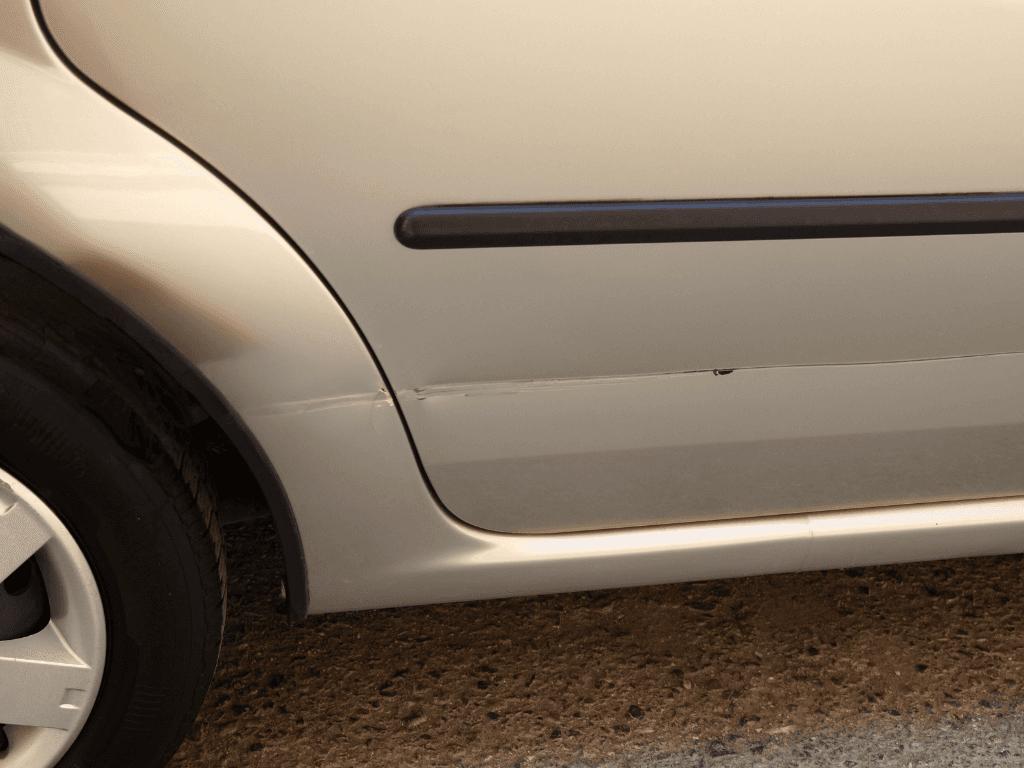
Contrary to popular belief, showing imperfections builds trust with the seller/dealer.
How much editing is too much?
- The Mistake: Over editing photos with heavy filters or skipping editing altogether, leaving raw, unpolished images.
- The Fix: Keep edits simple and natural. Adjust brightness, contrast, and sharpness lightly to ensure the car looks realistic. Avoid filters that distort the car’s color.
- HelloRamp Tip: The app automates post-processing, balancing brightness, color, and contrast for a polished yet natural look.
How do you keep a photo workflow organised?
- The Mistake: Mixing up photos from different cars, such as uploading the interior of one car with the exterior of another. This confuses buyers and damages trust.
- The Fix: When uploading photos to online listings, organize them into clear folders to avoid confusion. Use HelloRamp.ai to streamline the process, from capturing to uploading.
- HelloRamp Tip: The app provides a step-by-step guide that helps photographers stay organized, ensuring every photo matches the correct car.
Avoiding these common mistakes can elevate your car photography and make your listings more professional and attractive. With the right lighting, key angles, steady shots, and organized workflow, you can showcase cars in a way that builds trust and engages buyers. HelloRamp.ai simplify the process, guiding you step-by-step, automating edits, and helping you create polished photos that sell cars faster. Take your time, plan your shots, and let your photos do the selling!
Every mistake above is covered in more depth in our free car photography course, built for dealership photographers and inventory staff.
Frequently asked questions
What is the most common mistake in car photography?
Poor or uneven lighting. Harsh midday sun and mixed indoor light produce blown highlights, hard shadows and inaccurate paint colour, and no amount of editing fully recovers a badly lit frame.
Should car listing photos be landscape or portrait?
Landscape. Marketplaces and dealership listing pages are built around wide crops, so a portrait frame gets cropped badly or padded with empty space.
Does the car need to be washed before photographing it?
Yes. Dust, water spots and smears show clearly at listing resolution, and they read as neglect rather than as a dirty photo. Wash and dry the car, and clear the cabin, before shooting.
How do you avoid distracting backgrounds in car photos?
Shoot against a plain wall or an empty part of the lot, or replace the background automatically. Keep other cars, bins, signage and people out of frame.
HelloRamp Studio guides the walkaround, corrects the lighting and backgrounds, and produces the listing stills, the 360° spin and the video tour from one five-minute capture on a phone. No booth, rig or dedicated photographer.