
Mastering Lighting for Car Photos: Natural vs. Studio
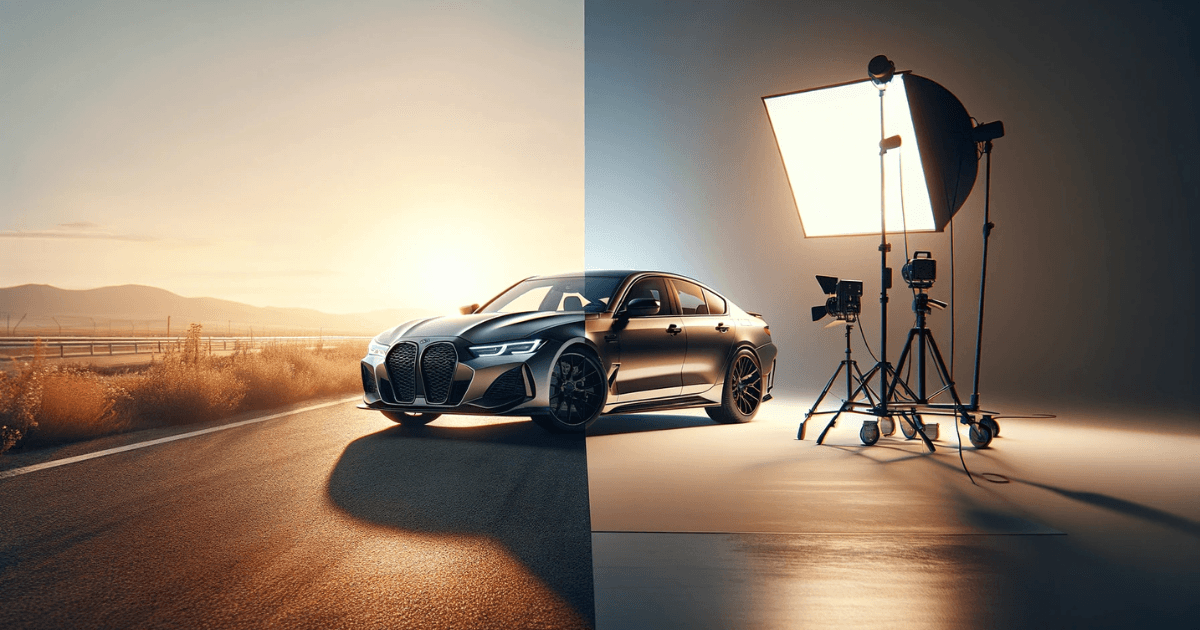
Natural light is free, flattering during golden hour and unpredictable the rest of the day. Studio light is fully controlled and identical for every car, but needs space, equipment and setup time. Most dealerships use natural light for capture and a virtual studio to make the results consistent.
Key takeaways
- Natural light costs nothing but changes with weather, season and time of day.
- Studio light gives one repeatable result per car, at the cost of space and setup.
- Reflections are the hard part of car lighting, because paint and glass mirror everything around them.
- A virtual studio applies a single lighting look to photos shot in any conditions.
Why does lighting matter in car photography?
Good lighting brings out the car’s true colors, shapes, and features. Poor lighting, on the other hand, can hide details or distort colors, turning potential buyers away. Balanced lighting helps highlight a car’s key details—such as its paint job, design, and interior features—while ensuring imperfections are still visible for transparency. Let’s explore how to achieve this balance in natural and studio settings.
How do you use natural lighting effectively?
Natural light is one of the easiest and most accessible options for car photography. However, it’s not always forgiving, so understanding its nuances is essential.
Tips for Natural Light Photography
Shoot During the Golden Hour: The golden hour—just after sunrise or before sunset—provides soft, warm lighting that minimizes harsh shadows and reflections. This time is ideal for capturing outdoor shots that look professional without additional equipment.
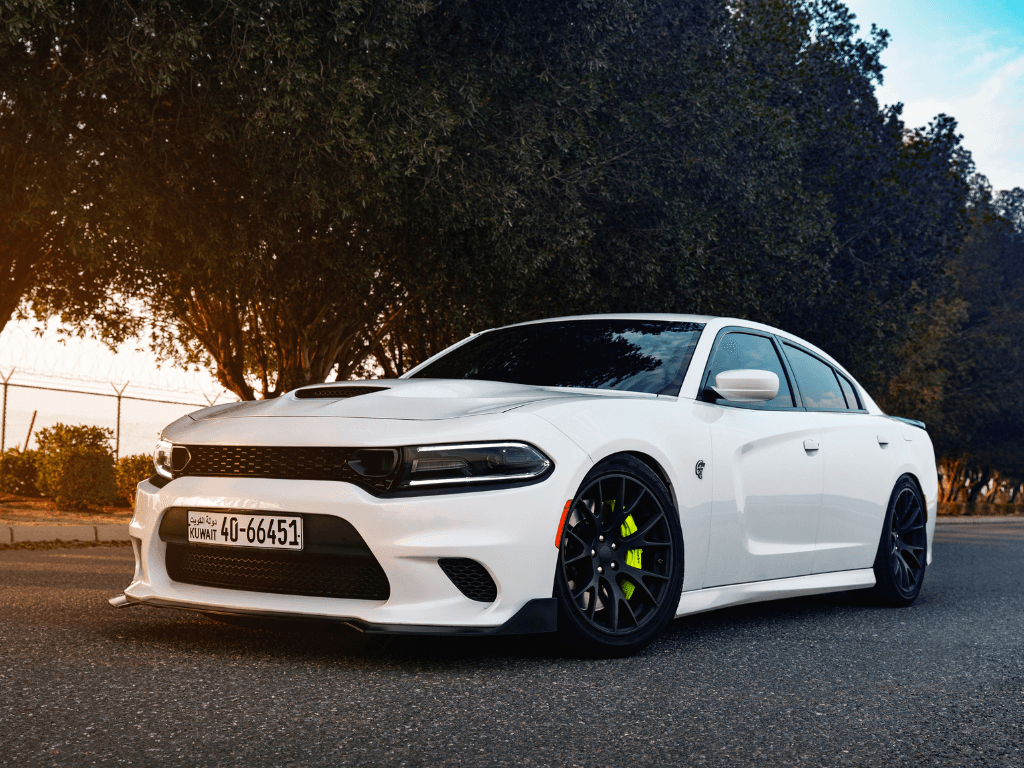
Capture pictures in the "Golden Hour" : Sunrise or Sunset for an even, diffused lighting
Avoid Harsh Glares: Direct sunlight during the middle of the day creates strong shadows and glare, making it difficult to capture the car’s details. For example, white cars might appear gray, and reflections on the windshield or paint can distract buyers.
Ensure Even Lighting: Make sure light falls evenly across the car. Avoid positioning the car where one side is in shade and the other in sunlight. Uneven lighting can make the car look unbalanced and obscure key details.
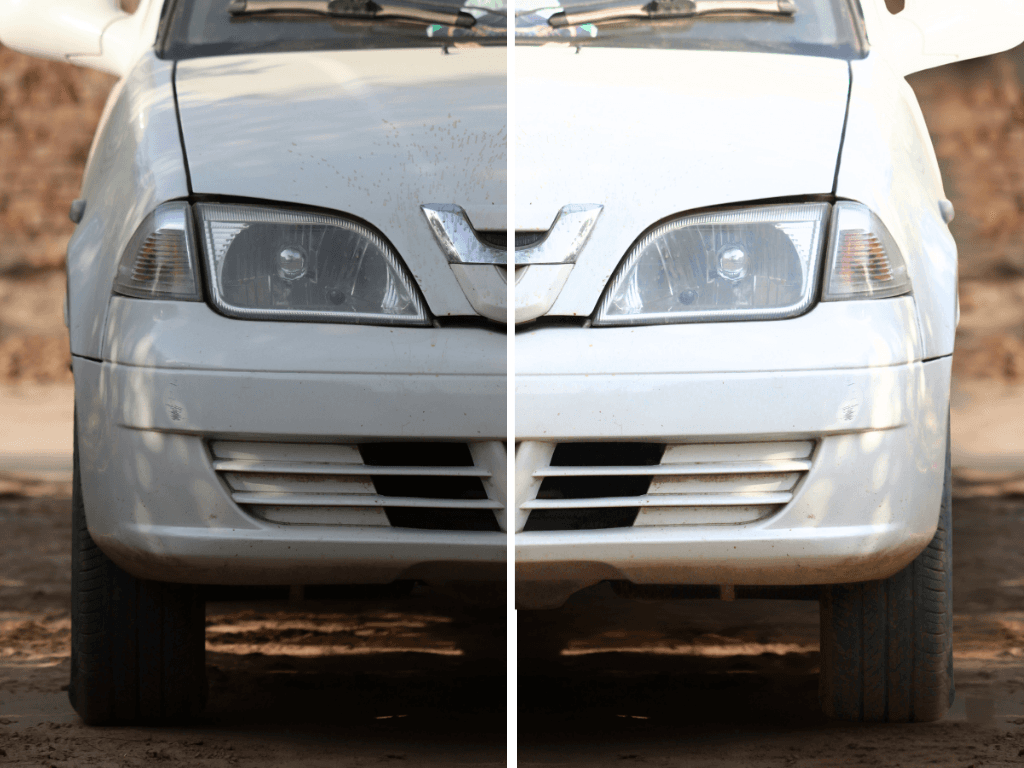
Shadows can make a white car look gray
Pick the Right Location: Look for clean, open spaces without distracting elements like trees or buildings that cast shadows or reflections. Parking lots, empty roads, or areas with neutral backgrounds work well.
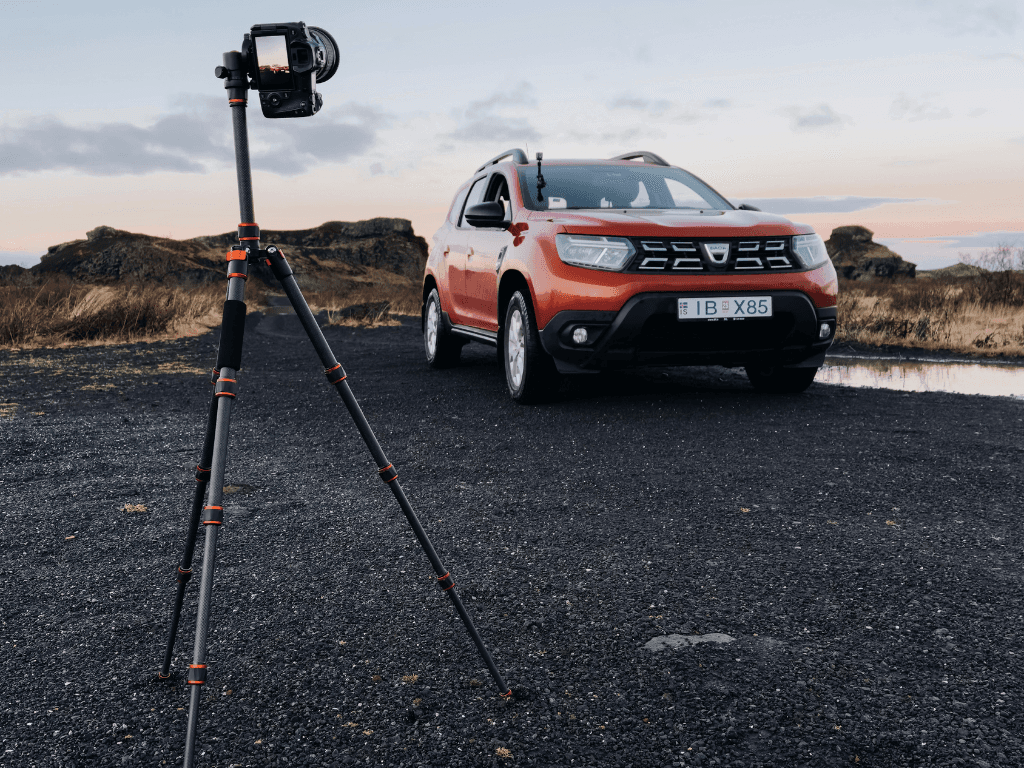
Outdoor shoots need to be set up in clear open spaces
Equipment and Setup for Natural Light
- Tripod: Ensures steady shots, especially during early morning or late afternoon when light is lower.
- Reflectors: Bounce natural light into shadowed areas of the car for more even lighting.
- Polarizing Filter: Reduces reflections on the windshield and body, helping colors stand out.
Common Mistakes to Avoid in Outdoor Shoots
Even though natural lighting is straightforward and accessible, it can present challenges if not used correctly. Here are some common mistakes to watch out for and how to avoid them:
- Shooting in Harsh Midday Sunlight The intense brightness during midday can create strong shadows, harsh highlights, and glare, making it difficult to capture the car’s details. For instance, reflections on the windshield and glossy surfaces may distract from the car itself. Schedule your shoots during the golden hour (early morning or late afternoon) when the light is softer and more diffused.
- Uneven Lighting on the Car Parking the car in partial shade or next to buildings or trees can lead to one side being too bright and the other too dark. This uneven lighting distracts buyers and hides important details. Choose open locations with consistent lighting across the car, such as an empty parking lot or a clean road.
- Ignoring Shadows and Reflections Shadows from nearby objects (like trees, poles, or buildings) or reflections of people and equipment on the car’s glossy surface can disrupt the photo’s focus.Position the car in a location free from objects that cast shadows or create unwanted reflections. Use a polarizing filter to reduce surface reflections.
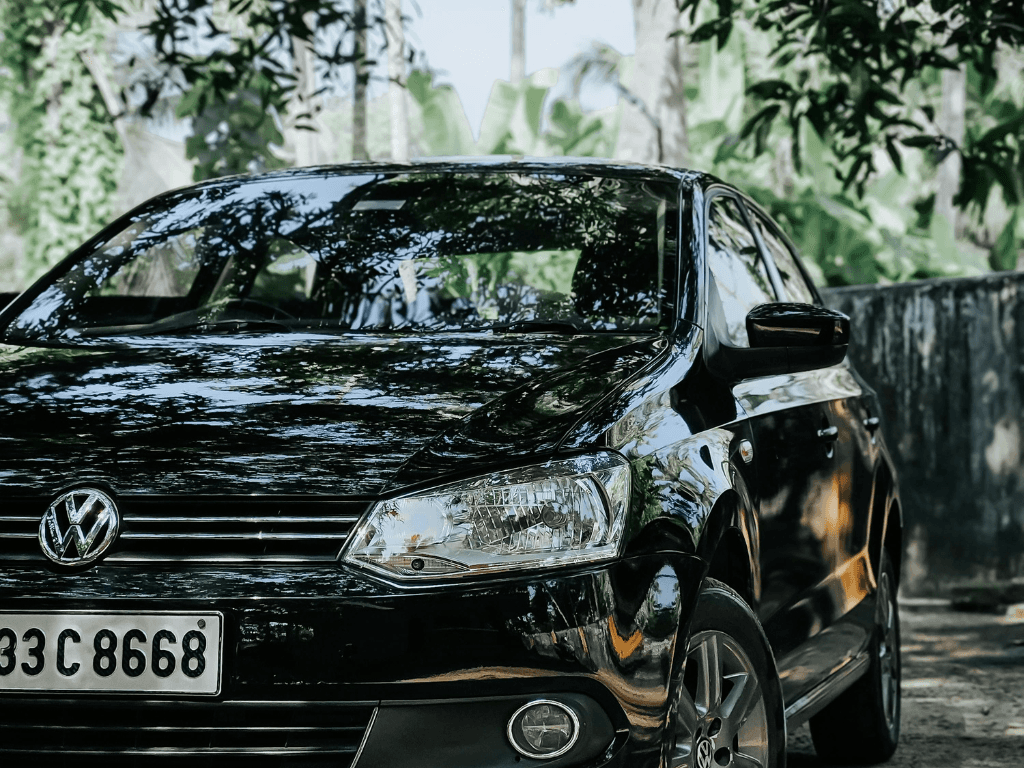
Reflection of trees and buildings interfere with the appearance of the car and hide the details.
- Failing to Account for Weather Conditions Rain and dust settle on the car, and bright sunlight distorts colour. Clean the car thoroughly before the shoot and avoid extreme weather. Overcast is the exception: it is the most colour-accurate light for a listing, and the lower saturation it produces is closer to how the buyer will see the car in person.
- Choosing a Distracting Background A cluttered background with other vehicles, garbage, or busy roads can take attention away from the car.Select clean, neutral backgrounds like empty parking lots, plain walls, or scenic roads that don’t draw attention away from the vehicle.
- Relying Only on Natural Light While natural light is great, certain areas of the car (like under the wheel arches or inside the cabin) may remain in shadows even in the best conditions.Use reflectors to bounce light into shadowed areas or carry portable LED lights to fill in darker spots.
By avoiding these common mistakes and planning your outdoor shoots carefully, you can ensure that your car photos look polished, professional, and appealing to buyers.
How do you set up studio lighting for cars?
Studio lighting gives you full control over the environment, making it possible to highlight specific features and avoid outdoor variables like weather or shadows. However, it requires proper setup and equipment to get it right.
Basics for Studio Lighting
Diffuse the Light: Use softboxes or diffusers to spread light evenly across the car. Harsh, direct light creates glare and unnatural highlights that can distort the car’s appearance.
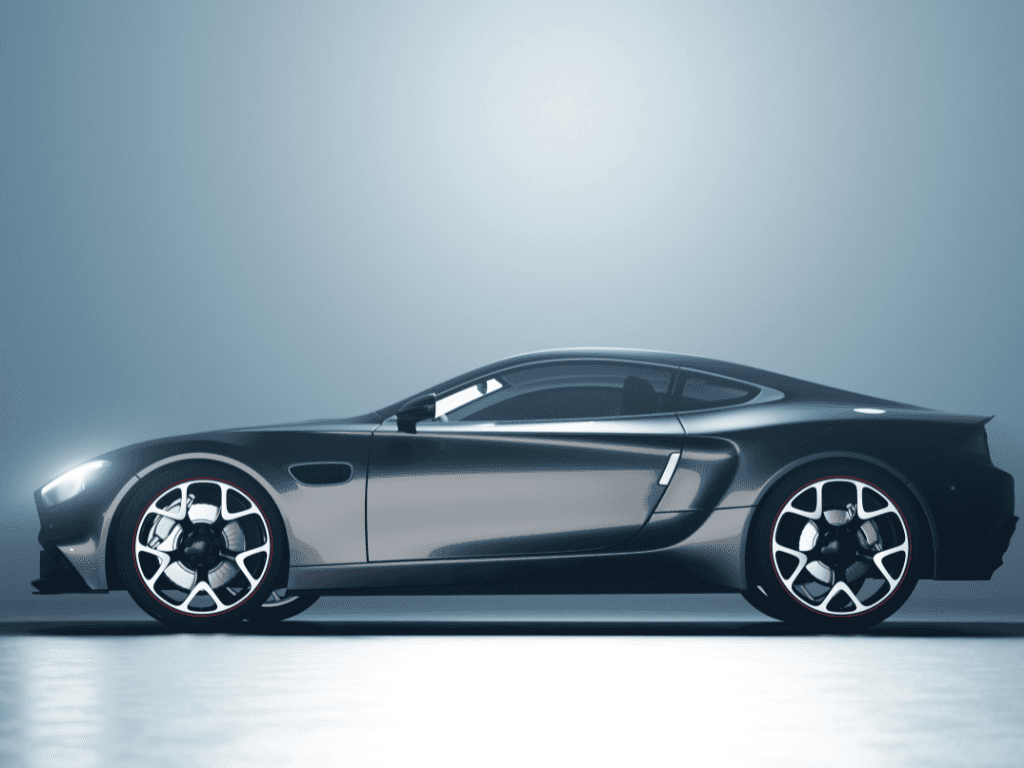
In studio lighting for cars should be diffused for an even look.
Avoid Overexposure: Too much light can wash out the car’s color or make it appear flat. Use multiple light sources positioned at different angles for balance.
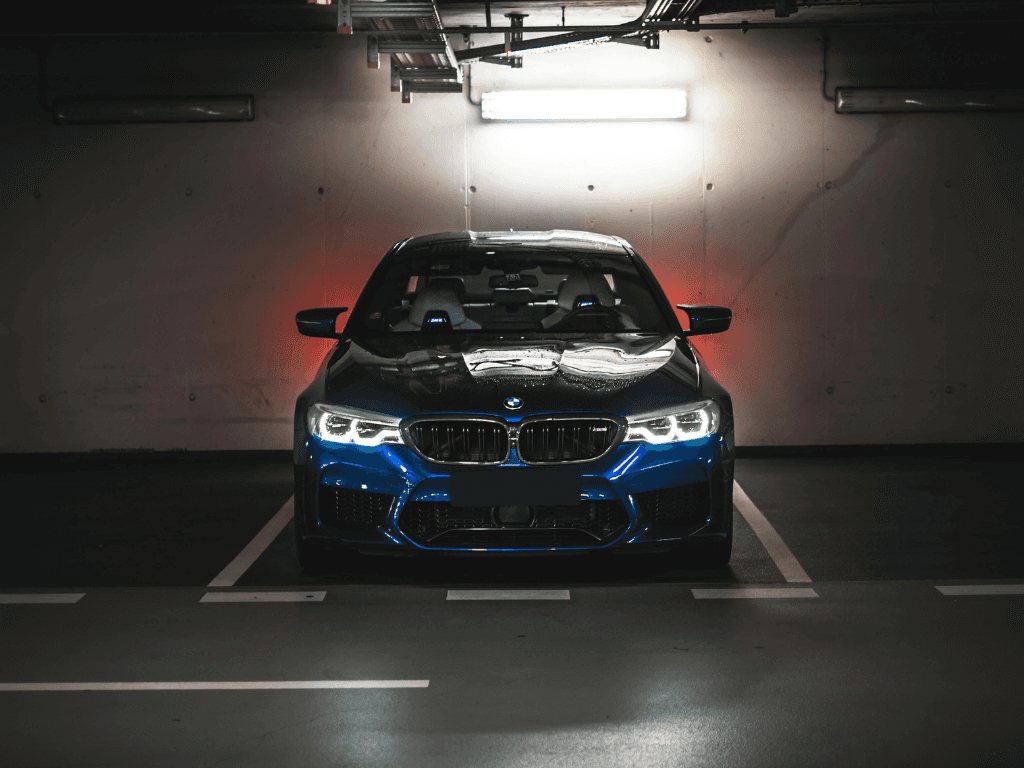
Glaring overhead lights cause reflections and interfere with the appearance and color of the car
Focus on Angles: Position lights to highlight curves, edges, and specific features like headlights or wheels. This helps bring out the car’s shape and design.
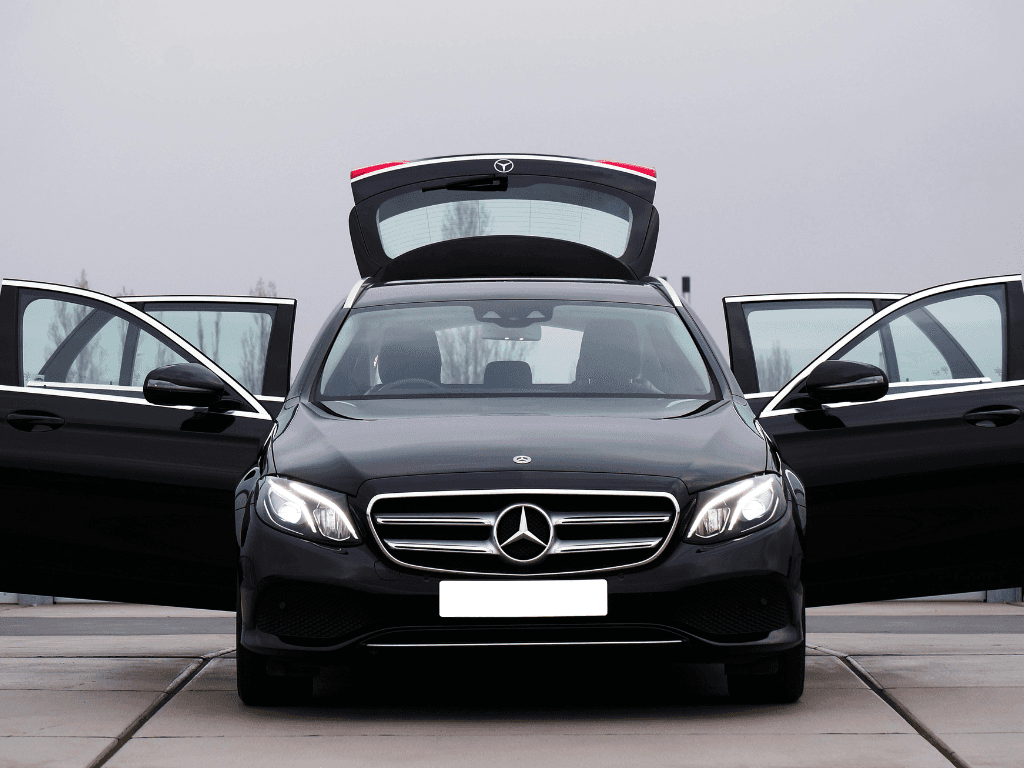
Remember to shoot a car from different angles
Equipment and Setup for Studio Lighting
- Softboxes or Light Diffusers: Create soft, even lighting and reduce glare.
- LED or Halogen Lights: Adjustable brightness and temperature settings help achieve natural-looking results.
- Reflectors and Light Stands: Bounce light into hard-to-reach areas for even illumination.
- Seamless Backgrounds: Neutral backgrounds ensure the car remains the focus of the photo.
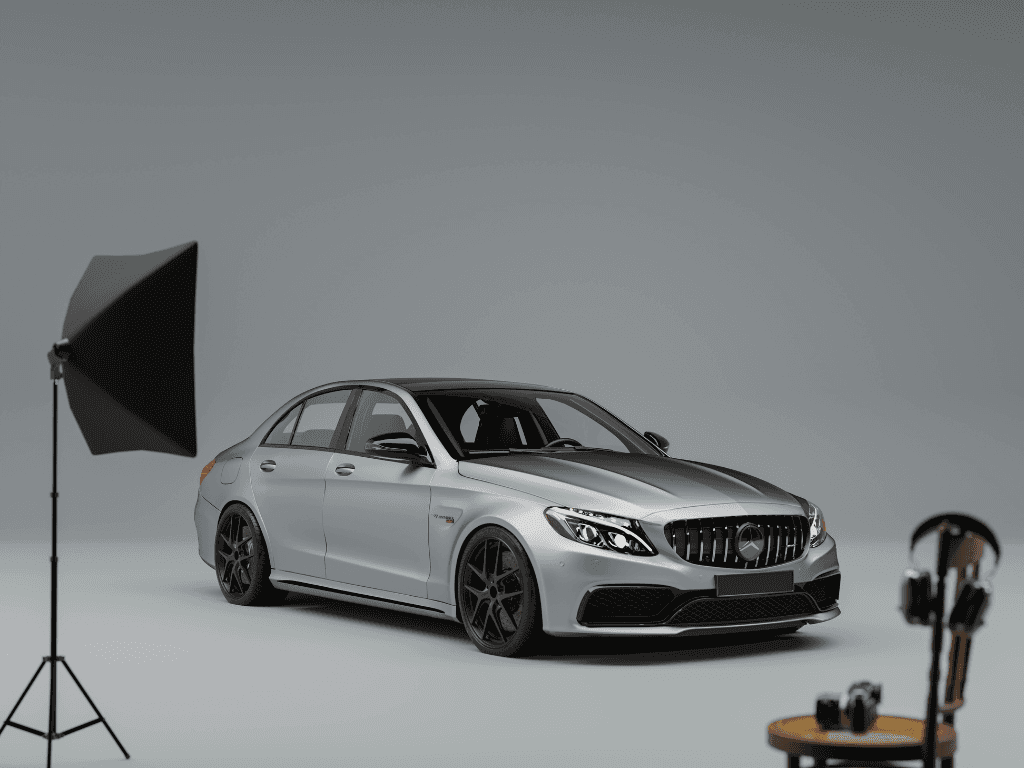
Indoor shoots can be done with studio level set up. HelloRamp.ai gives a studio-level look with minimal investments.
Common Studio Mistakes to Avoid
- Glare on Surfaces: Check for glare on the car’s paint, windows, and windshield, and adjust the light angles accordingly.
- Distracting Reflections: Ensure that no equipment or objects are reflected on the car’s glossy surfaces.
- Uneven Lighting: Avoid lighting that makes one side of the car too bright and the other too dark.
What can post-processing and a virtual studio do?
While natural and studio lighting both have their strengths, transforming an outdoor shot into a studio-quality image can be challenging due to reflections, glare, and inconsistent lighting. That’s where HelloRamp.ai come in.
HelloRamp.ai for Post-Processing
HelloRamp.ai simplifies the post-shoot process, allowing you to create professional-quality images without extensive equipment or expertise. Key features include:
- Virtual Studio Editing: Simulates studio lighting and removes distracting reflections, giving your photos a polished, studio-like appearance.
- Automatic Adjustments: Enhances brightness, contrast, and color balance to bring out the car’s best features.
- Background Removal: Transforms cluttered indoor or outdoor shots into clean, professional backgrounds.
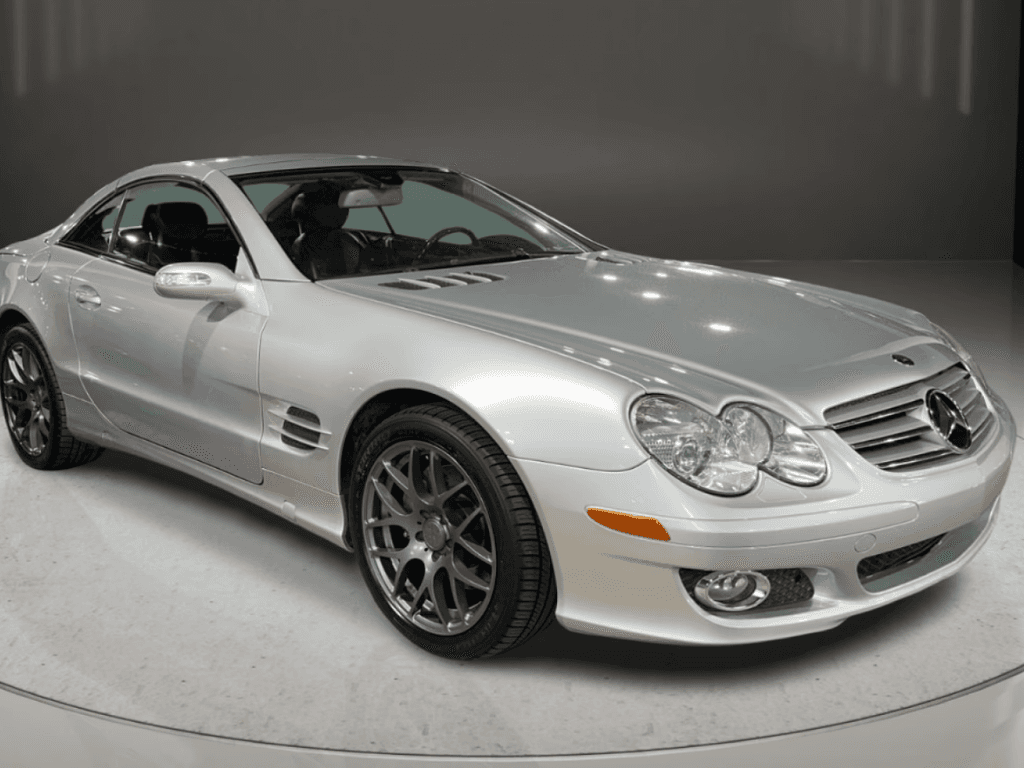
Select Virtual Studio backgrounds using HelloRamp.ai These features are especially useful for dealerships that want the quality of studio photos without investing in expensive lighting setups.
Conclusion
Mastering lighting is one of the most important aspects of car photography. Natural light provides a cost-effective and accessible solution, while studio lighting offers precision and control. Each has its strengths, but both require careful attention to detail to avoid harsh shadows, glare, or color distortions. By understanding and using light effectively, you can create car listings that capture attention and build buyer trust.
Frequently asked questions
Is natural or studio lighting better for car photos?
Studio lighting is more consistent, natural lighting is more accessible. For online listings the deciding factor is repeatability: buyers compare listings side by side, so every car needs to look like it was shot the same way.
How do you control reflections when photographing a car?
Move what is being reflected rather than the car. Shoot away from buildings, other vehicles and bright signage, use soft or overcast light instead of a point source, and change your own position to move a reflection off the body panel.
What lighting setup do you need for indoor car photography?
Large, diffused sources placed high and to the sides, enough space to keep them out of the reflections, and a neutral floor and walls. This is why most dealerships choose a virtual studio instead.
Can you fix bad lighting in editing?
Partially. Exposure and white balance can be corrected, but detail lost to blown highlights or crushed shadows is gone. Getting the light close in camera is always cheaper than recovering it afterwards.
HelloRamp Studio guides the walkaround, corrects the lighting and backgrounds, and produces the listing stills, the 360° spin and the video tour from one five-minute capture on a phone. No booth, rig or dedicated photographer.